My Design Process

It’s no secret that everyone thinks a little bit differently when it comes to their home. And every designer thinks differently when designing a space for themselves or their clients. I wanted to walk you through a few of my many “design processes” to not only give you a little insight as to how I function but hopefully help YOU as you rethink your space.

It’s no secret that everyone thinks a little bit differently when it comes to their home. And every designer thinks differently when designing a space for themselves or their clients. I wanted to walk you through a few of my many “design processes” to not only give you a little insight as to how I function but hopefully help YOU as you rethink your space.

IMG_2654
When choosing a new color or material I literally lay out all my options. I ask critical questions about the impact of a design choice.

Think Critically

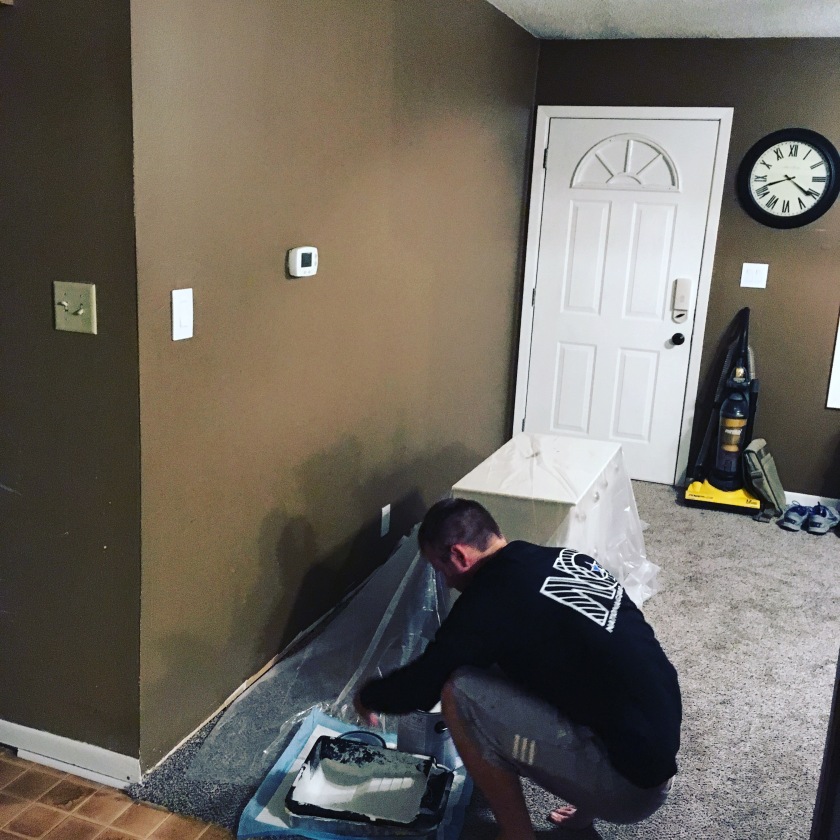
When I  am designing I tend to ask myself a lot of questions. I think it’s important to think critically to avoid making costly mistakes in the long run. I for one don’t want to have to paint a wall 10 times before I am satisfied with how the color turns out. When you factor in $50 for a gallon of high quality paint and a few supplies you’ll save yourself a lot of money and hassle when you think critically.

Space

The first thing I think about is the space of the room. Is it small, large, square, rectangular? How much natural light will the room receive? What part of the house is it in? What will happen here? These are all valid questions to find answers to before you even start. When it comes to my personal style, I would never put a dark color in a small room that receives little to no natural light… especially if it is a common area like a living room, dinning room, or kitchen. However, if it were a small bedroom that received a lot of natural light, had clean lines, and was straight forward in design I may consider going darker for a more relaxing environment, (in fact I did… you’ll see that in a future post).

Flow

How does the space you are designing go with the flow of the entire home? Does it clash? Is it dark when everything else is light? When you walk though the space does it make sense… does it feel like you are going with the current or swimming upstream or perhaps it is more like a stagnate swamp of confusion. If it doesn’t flow rethink the space. How can you make it more functional and inviting?

Collectiveness 

Very similar to “flow,” making sure everything is collective in style will help lessen confusion in your space. I am not saying that you have to have everything matching… and it is totally cool if you love eclectic styles! But, ask yourself this, “Does this item complement the room?” Or maybe it sticks out like an ugly, sore thumb. Does it make sense to you? After all, you are the one that is living there. Don’t live with something that drives you insane. You owe yourself that!

Declutter

Ever need to clear your head? I think redesigning a room is similar… sometimes you just need to start from scratch and that is OKAY! Often when redesigning a space, I will clear all the furniture I can move to the next room, sit in the middle of the floor and reimagine where I think things would work better. And you know what, it works! (Bonus, it gives you a great opportunity to deep clean all those corners you can’t get to normally.) The same goes for making a place more functional. The less you have cluttering up a room the better.

fullsizeoutput_a36.jpeg
Clearing everything out can help you clear your head and create a new vision for your space. Plus, it’s an easy way to deep clean!

Contentment

I know, I know. This is a design blog. And the word contentment isn’t something one will see very often in a place like this. But it is my personal opinion that if you aren’t content you won’t be happy. Maybe there’s some deep spiritual or psychological influence at play… but honestly it’s just about being human. We all want more, we all have dreams and desires and sometimes we just need a change of pace. My challenge is to ask yourself, “Will I be content if _________ happens?” If the answer is, “No,” rethink your priorities. And honestly, if you don’t get excited over your new couch, new paint, or latest home buy than why did you purchase it?

Here’s a great book by Rachel Cruze to read when it comes to contentment and your money: [HERE].

*Not Sponsored*lylnt.jpg

These are just a few ideas, thoughts, and questions I personally use and genuinely hope you find them useful as well. Remember that when you design your home do what makes you happiest. Design your space for you not anyone else and certainly not to impress anyone else…

Did anything stick out to you? Feel free to comment below I would love to hear your feedback.

As always, thank you for reading my posts! I am so encouraged by all your kind comments. Be sure to follow me on Instagram for more behind the scenes looks into my everyday life. You can also find me on PINTEREST. 


DIY Outdoor Holiday Garland

So, I thought it was the perfect challenge to myself. I absolutely adore any opportunity to make something beautiful. Especially, if I can do it for next to nothing.

I was scrolling through Instagram the other day and noticed not just one of my Insta-buddies but four or more making these adorable natural garlands. Many with multiple layers of natural foliage and seeded eucalyptus. Eucalyptus is very popular this year and I love it! Specifically, Seeded Eucalyptus is my absolute favorite “green” element; it has interesting texture, an olive colored tone, and it smells so refreshing.

If you read my post last week, you remember my mentioning how people in the past used natural elements to decorate. They used things they could find in their own backyard. So, I thought it was the perfect challenge to myself. I absolutely adore any opportunity to make something beautiful. Especially, if I can do it for next to nothing.

Enter a trip to the farm.

My husband’s family owns a beautiful spread of farmland. And it’s such a treat to go out there and just be. It’s close enough to town but seems far enough to just breathe and get away from any distraction. My husband was nice enough to take both our little girl and me to get some natural foliage. He made the climb to a wild cedar tree on a ridge and trimmed off a small stack for me to use. I tell you ladies, find a guy who will do crazy things just to make you happy. I am one blessed lady… doubly blessed because he loves Christmas more than anyone I know. 

We went back home and I began my little craft project.

I had about 6 foot of faux green garland that had lights left over from last year, just sitting in storage. So, I decided to use that on one of the railings on our little front porch. After seeing what method would be best to wrap and secure the greenery, I began to add different “sprays” of real greenery throughout. The faux garland is bendable so I simply just had to twist those sprays around the real ones to secure.

FullSizeRender-11
Step 1. Drape faux greenery around the railing. I chose to cover this railing for several reasons. New paint coming in the spring!

I love the volume that different branches gave the garland. Since we have only lived in the home for 2 months, we haven’t been able to do many updates to the front. We replaced the front door but still have much to do once spring and summer temperatures hit. One of those projects will be painting the entire exterior including the little front porch, that is currently not so pleasing to the eye. (Keep that in mind when judging how badly the old paint is chipped, haha).


I wanted to add a different natural element. And I wanted to make sure it would be friendly in case the birds got hungry. I “upcycled” some mandarin oranges that were going to go bad before we could eat them. But in order for them to be able to be used for decorating, they needed to be dehydrated.

Here’s what I did to dehydrate and get them ready to be added to the garland. You could do this to any citrus, temps and times may vary due to type and your altitude. (A hint/shout out to my Wyoming and Colorado readers).

– Cut citrus into 1/4″ rings

– Place on parchment lined baking sheet with about 1/4″ to 1/2″ in between slicesfullsizeoutput_15a0.jpeg

-Heat oven to 200°F

-Bake for 1 hr

-Flip

-Bake for 1 hr, more

-Flip

-Heat oven to 250°F

-Bake for another 15-20 minutes, ***optional: put them on an oven rack above the parchment to allow the dry air to get to both sides.

-If they still seem juicy leave them in longer… just be careful not to burn.

-Turn oven off

-Leave in oven overnight… or on counter.

Next came the fun part. Once I had all my citrus dried, I just needed to thread them with some string. I used white crochet string, a large quilting needle, and a large string (6 feet or so) of jute. Many of these steps would be a good option to have the kiddos help.

-Simply thread your needle with the crochet string.

-Thread each mandarin slice, close to the rind, with approximately 3-4 inches of thread.

-Cut, and tie two knots around the rind of the dehydrated citrus.

-Tie around the jute string. I did 3-4 knots to make sure it was tight and secure.

-Cut off remaining string.

-Repeat until you have your desired amount of slices and length.

-Reorder according to your liking. You will still be able to adjust when you add this to the greenery in the next phase.

FullSizeRender-7
Thread the needle.
FullSizeRender-9
Tie and Cut.
FullSizeRender-8
Voila!

The FINAL PHASE… drape around your greenery according to your liking and secure.  You can also take a few of your leftover citrus slices and tie directly to your branches for a more scattered look. Or if you don’t want any of your string to show, simply use green floral wire and secure to individual branches. This is the best option for a seamless, more professional look. 


As always, thank you for reading! Please be sure to share this via social media and word of mouth! You can always find me on Instagram, Pinterest, and a little Facebook. Comment below if you enjoyed this little DIY! Now, go and make today BEAUTIFUL! 


The Holidays on a Budget

The Holidays are full of wonder for young and old. Many decor items can bring a feeling of nostalgia, memories of our childhoods, and traditions kept among generations. On the other hand, when you’re dreaming up how you want your home to look it can become intimidating, fast. Especially, when thinking about staying within budget.

The Greatest Generation

I am amazed by those who have gone before us. When I think about people like my grandparents, survivors of the great depression and WWII, I think about how they truly knew about using their resources. It wasn’t about “trendy,” it was about family, and using what they already had to spread some cheer. My grandfather grew up in the Sandhills of Nebraska… there were times the family struggled to put food on the table. But hard work and determination made him a successful man. But that’s likely a story for a different time.

IMG_1685.jpg
My grandfather in 2016. I’m 11 weeks pregnant and we had just visited to tell him and my grandmother the news. We had gifted him with a book about, Louis Zamperini.

My point is, we should take a hint from those who lived before us. They focused on simplicity, using what was in their own backyard, and didn’t over spend on frivolous decor. That has been my inspiration this Christmas and as we get settled (and save for upcoming projects). I used what we already had. I kept it simpler than years past and it’s become more elegant, refined, and beautiful. We’ve also decided to not do “traditional” gifts this year to save for upcoming house projects.

The Application
I decided to give a few quick tips on how we stayed in budget when it comes to Christmas decor and advice on how you can use what you already have.

Keep it Simple, Stupid. My military husband always is quick to remind me that keeping things simple is the best way to go about life. The same can be said for decor… plus it keeps things less cluttered, clean, and beautiful.

Reuse and Repurpose. Keep using that decor from last year. Think out of the box on how you can style it or use it in a different area of the house! Does it need a change? Think on how you can repurpose it to look different, be different, or recycled.

Find Function in the Un-Ordinary. I am loving the trend this year of placing your Christmas tree in a bucket, basket, or box. It gives use to something that you may be using elsewhere and gives a rustic, farmhouse look to your Christmas tree. Maybe you can find something at your local antique shop or use something you have laying around.

Give Differently. It can be so much pressure to give the perfect gift. But how about give back? Instead of spending more money on ugly Christmas sweaters how about you give to your loved one’s favorite local organization, church, or charity. Or better yet, give your time. Take an hour to sit down to a coffee and chat with an elderly person, widow, or single woman from your church. Reach out and love on those around you. The holidays can be very hard on some people and a friend or listening ear could be great encouragement to them.

Here are some of my favorite charities: 

Help a Family in Need. Recently, a local home store store gave a challenge to their customers to drop off old decorations that no longer were needed. It was a challenge to declutter and rethink their spaces. Those drop offs were later donated to local families who could not afford to decorate for Christmas. Do you have a bunch of decor laying around that someone else would enjoy? Find a place that can match it with a deserving family.

As always friends, I truly hope you enjoyed this little article. May it be freeing, encouraging, and loving… And here’s to a joyous holiday season with your loved ones. Blessings!

And please give me a follow on Instagram, Facebook, and Pinterest for more inspiration.


How To: Refurbishing a Mantel

It is so fun to find new ways to express your personal style around your home. As people who deeply appreciate historical charm, this move has been eye opening when it comes to attempting to add elements that don’t scream “brand new.” We certainly believe in mixing in a lot of modern elements however, we love historical character. For instance,  crown molding, brick fire places, and built in cabinets are our kind of language. Looking for something to cozy up our entryway, we decided to add some historical inspired character mixed with our own personal style.

If you have been in an upscale antique or architectural salvage boutique you know a mantel can cost upwards of $1,000…  depending on size, age, and detail. Well, that just wasn’t happening for this family. God blessed us with just the right timing where someone from a neighboring town moved and had a decorative mantel they just couldn’t take. I had offered to pay a little something towards it, but the kindness from a stranger offered to give it to us for the best price, free!

Now, this was not a real fireplace mantel. It held a tile mirror and looked as if it was a purchase from Hobby Lobby at some point, perhaps in the early 2000s. This isn’t quite the look I am going for in the house as we make this ours. So, we decided to make it fit into our modern farmhouse inspired look.

IMG_2575
Mantle Before.
fullsizeoutput_157a
Mantle After.
IMG_2418
Wall/Entry Before.
fullsizeoutput_157d
Wall/Entry After.

Here’s a step-by-step tutorial on how we did it… all with items we already had. So, in a sense this was a completely FREE project that paid off really well! 

Let’s start our supply list. You’ll likely need the following basics for any refurbished piece you create.
——-
-Sanding Block or Hand Sander

-Tools like a screw driver/drill, hammer, etc depending if you’re going to mount/anchor your piece. And screws or other supplies you’ll use to anchor.

-Stain

-Paint

-Paint Brush(es) 

-Rags

-Cardboard or something to protect your work area

  1. Take Anything Unwanted Away. The mirror wasn’t our style, so we took it off. It was simple, we just had to unscrew it from the back. If we had to, we were just going to carefully use a jig saw to cut that layer of wood out… 

  2. SAND. I cannot stress to you the importance of sanding off any varnish that is on anything you refinish! Trust me, paint or stain will not adhere to any surface properly if there is still a varnish type coating. You can use a sanding block or electric hand sander. I opted for the block as I could sand quietly during our little one’s nap… plus I could easily get into little corners where it would have been difficult with an electric hand sander.
  3. Prep. When I was done sanding I gently wiped the project down with a wet cloth. Always make sure your projects are very clean before adding paint, stain, ect. 

  4. Contour. Ladies, much like contouring your face with bronzer, I did the same with a dark walnut gel stain. I “contoured” corners and edges, places that would naturally “chip” if this were a real antique… I also put a thicker coat by where a fire would have blown up soot and smoke. Do this step outside or in a well ventilated area. I did this leaning on our back porch with a protective sheet of thick cardboard to protect the piece and any surfaces. Allow to completely dry before step 5. 

  5. Lightly Paint. I started with a thin coat of paint over the places I didn’t contour as heavily. The places that naturally would be more protected. Think ridges and smooth surfaces. Allow to dry.
  6. Paint Again. Second coat, here we come! This time I did the entire piece. I made sure I used a course brush so it would add a small amount of texture and lines. I used a smaller paint brush between the small dental molding and tiny corners.
  7. Dry. Once you are satisfied with the coverage let it dry overnight.
  8. Sand. Let’s think contouring again. Remember where you added the stain? That’s what you want to see. Depending on how “chippy” you want your paint sand to your heart’s desire. I used my trusty sanding block just to allow for a little more control than our electric sander.

    fullsizeoutput_156e.jpeg
    Step 8. Sand Where it Naturally Would Chip… Those areas should be around the areas you “contoured.”
  9. Mount it securely to your wall. This step will depend on size, weight, and wall structure. We used two 4 inch screws to anchor this to the studs in the wall, as the mantle is relatively light. Your piece shouldn’t move at all when you jostle it–if it does you need to adjust.
  10. DECORATE AND ENJOY! 

  11. ***Optional. Add something that makes you happy. We added a small chalk board in the back of this piece. Why? I wanted a creative place for our kiddo to express her creativity when she gets older… and her scribbles now. I also plan to use this for Bible verses and Scripture memory. You can find the chalkboard here.

fullsizeoutput_1581
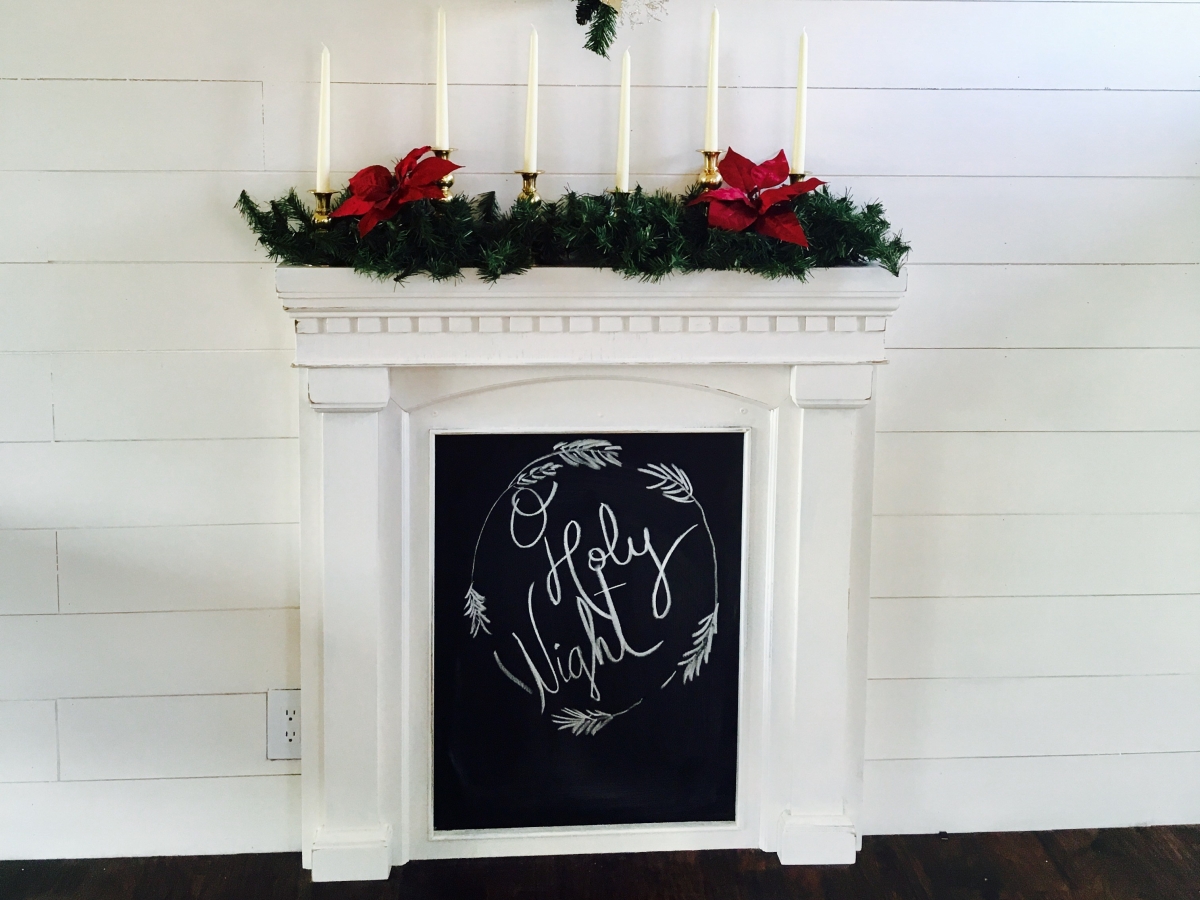
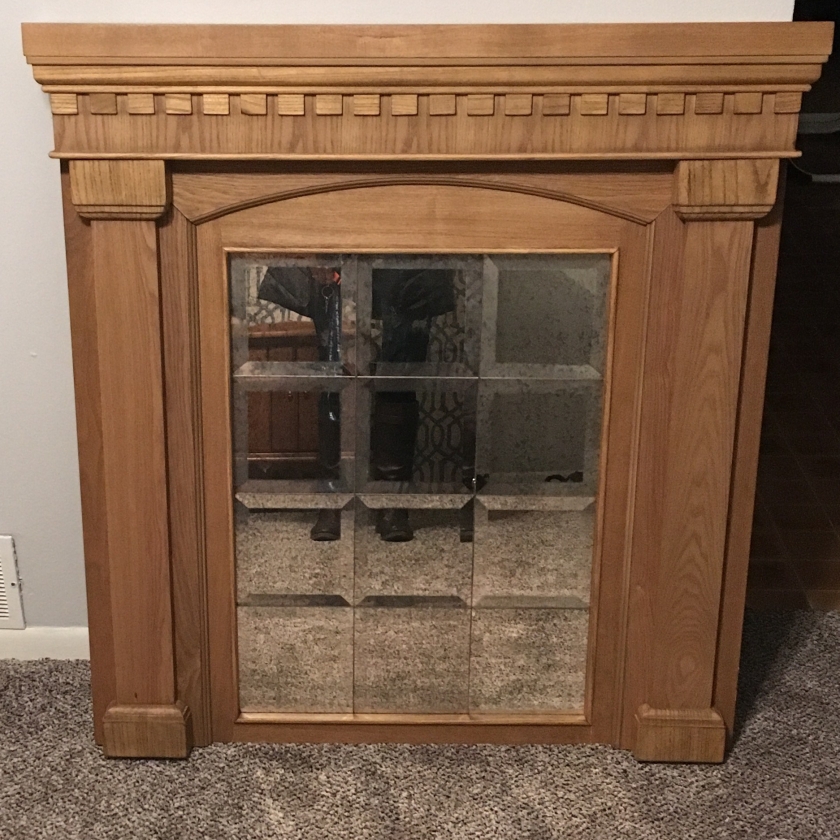
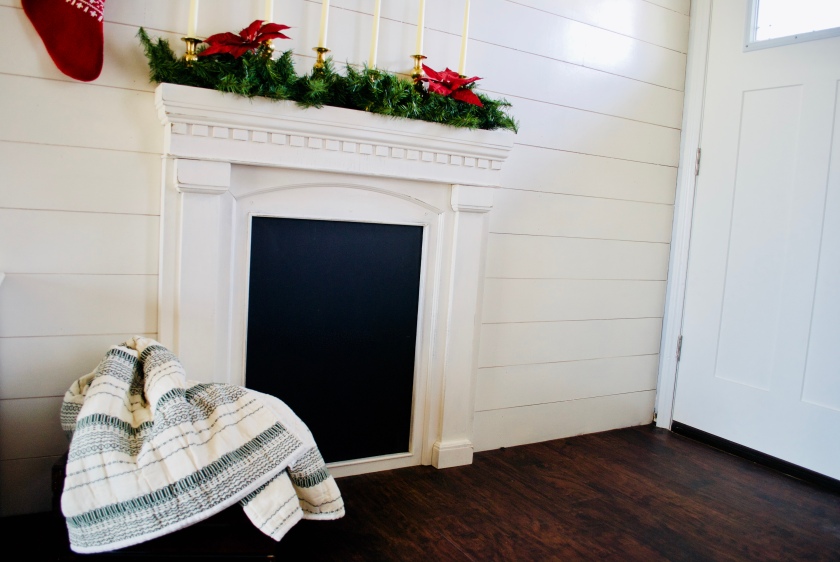
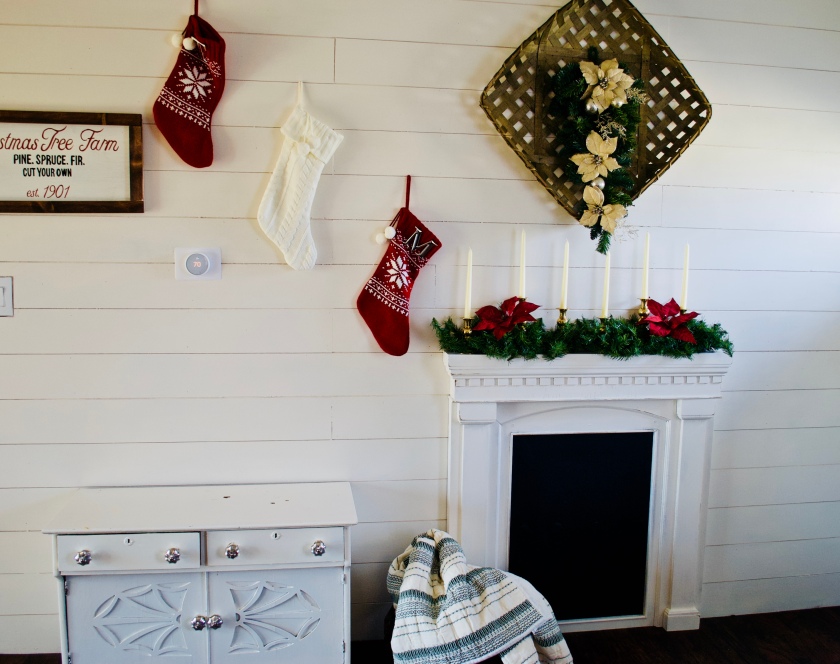
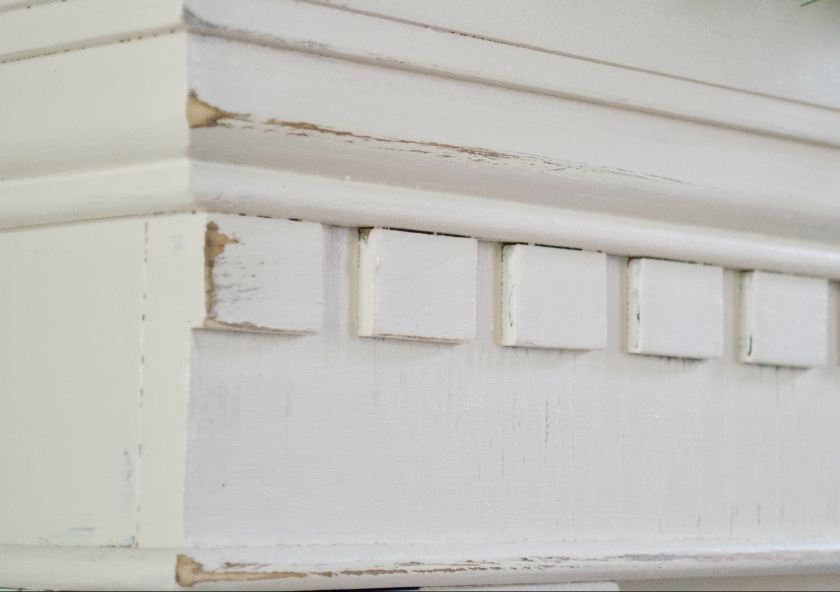
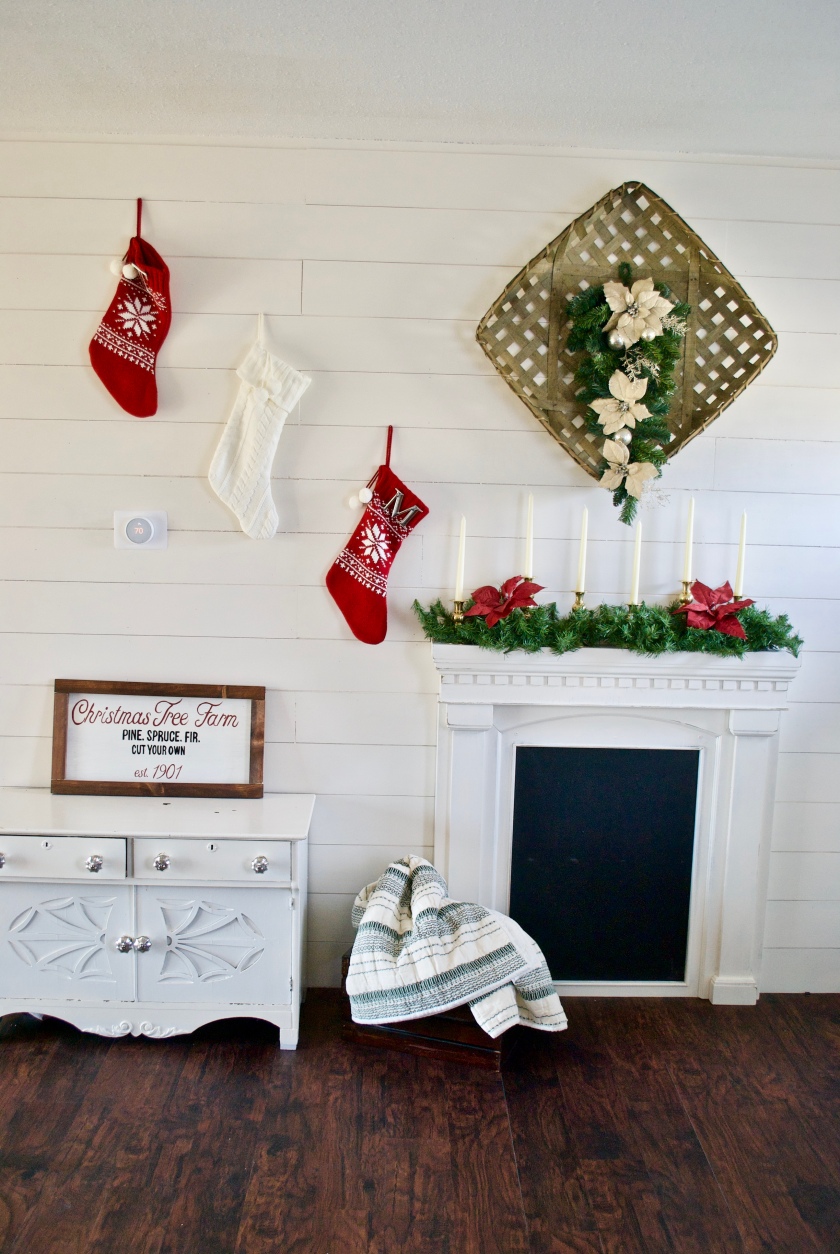
Here’s a link to other “faux mantle” opening ideas from some of my favorite designer friends. [PINTEREST INSPIRATION]

FullSizeRender-4

OTHER PRODUCT SOURCES:

Stain: Miniwax Walnut Stain… find it [Here]. 

Paint: Behr in Ballet White.. find it [Here]. 

Sanding Block: Find a similar product [Here].

I sincerely hope you enjoyed this tutorial. If you did, be sure to share with your Facebook friends, Instagram, Pinterest and so on. Just be sure to tag us or give us credit for any photos used! As always, I hope this inspires you to find how you can make your home more of a place you want to come home to. 

xoxo,

Mandy


A Season of Thanks

I truly hope everyone was able to take time to reflect on this year with gratitude. I am so grateful for the blessings God has given our family this year. Specifically, the gift of time. Time is something we can never get back. That became a real reality once we grew our little family.

IMG_5486
Last year after a long work season we decided we needed time together. This photo is just one little reminder of that trip. It’s a moment that reminds me how important taking time together really is.

I am thankful for this house… it has given us time back.

Of course we want to make it our own. It’s a fixer upper in our eyes, we knew that when we purchased it, but it has great potential. This is why we purchased it in the first place. It was safe, clean, and provided a need when we needed it most. And now that our needs are mostly met, we can focus on making our home inviting to us.

I hope it is a blessing to others.

When we got married we wanted to be that house. A place people always felt welcomed, loved, and wanted. The same goes for this home. I also want our hard work to be a lesson for others… a vessel to teach people they can have a beautiful home, no matter their BUDGET, taste or style.

I will have a different style than some. AND THAT IS OKAY. As one of my mentors says, “You Do YOU!” It means do what makes YOU feel happy… if you like rustic, do rustic. If you like french country, do it! If you like the color orange, then by all means do orange! We are all created differently and THAT IS BEAUTIFUL. That is something that makes YOUR home beautiful.

As always friends, I can’t wait to share more with you. I have my first tutorial coming next week. So, stay tuned! And THANK YOU for all the kind words, encouragement, and love as we set out on this adventure. Go and enjoy TIME together with your loved ones this Thanksgiving weekend.

Intro Part 2. Small Town, Fixer Upper.

The Small Town, New Housing Market

When I think of small towns, I tend to think of dirt cheap, turn of the century, character houses. After all, we have whole design shows about just that. While that was certainly true with our first house, in a town a bit bigger it certainly is not the case here. Don’t get me wrong. There certainly are many gorgeous old homes, but we didn’t luck out with one available when we were searching… generally beautiful old homes in this area are purchased within days of being on market for well more than they are worth. This house is not one of them.

fullsizeoutput_151c
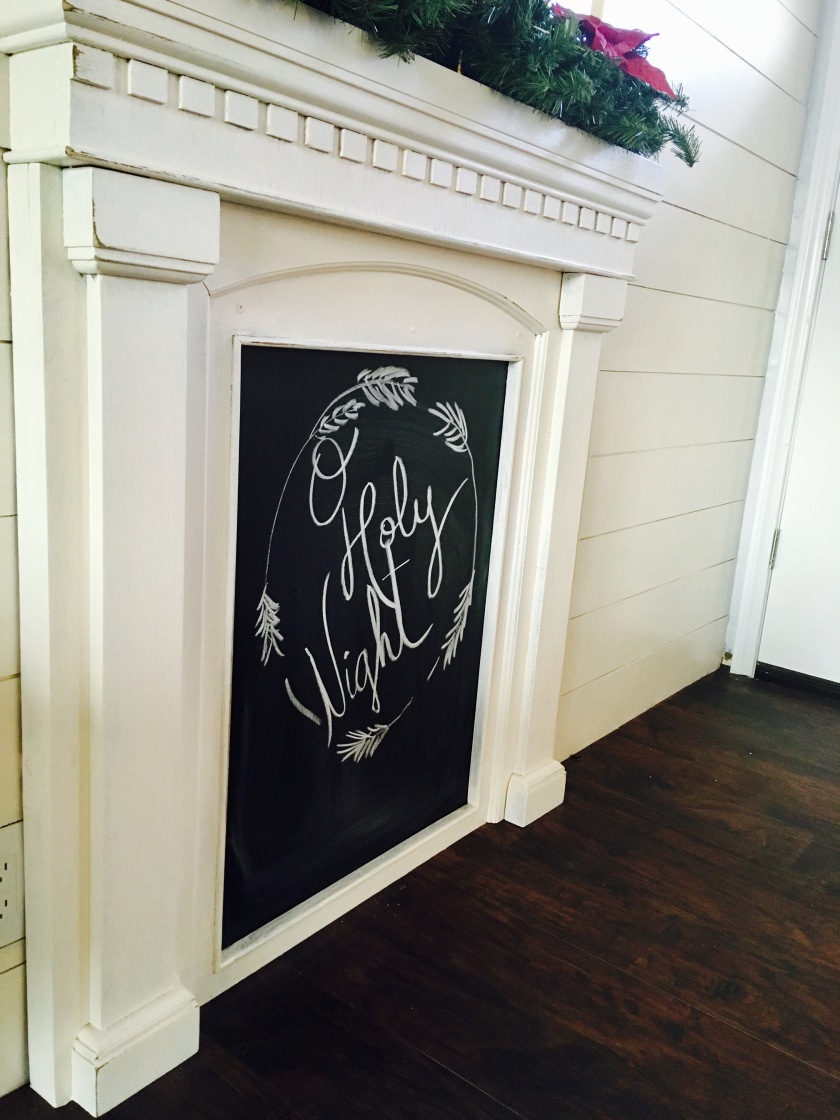
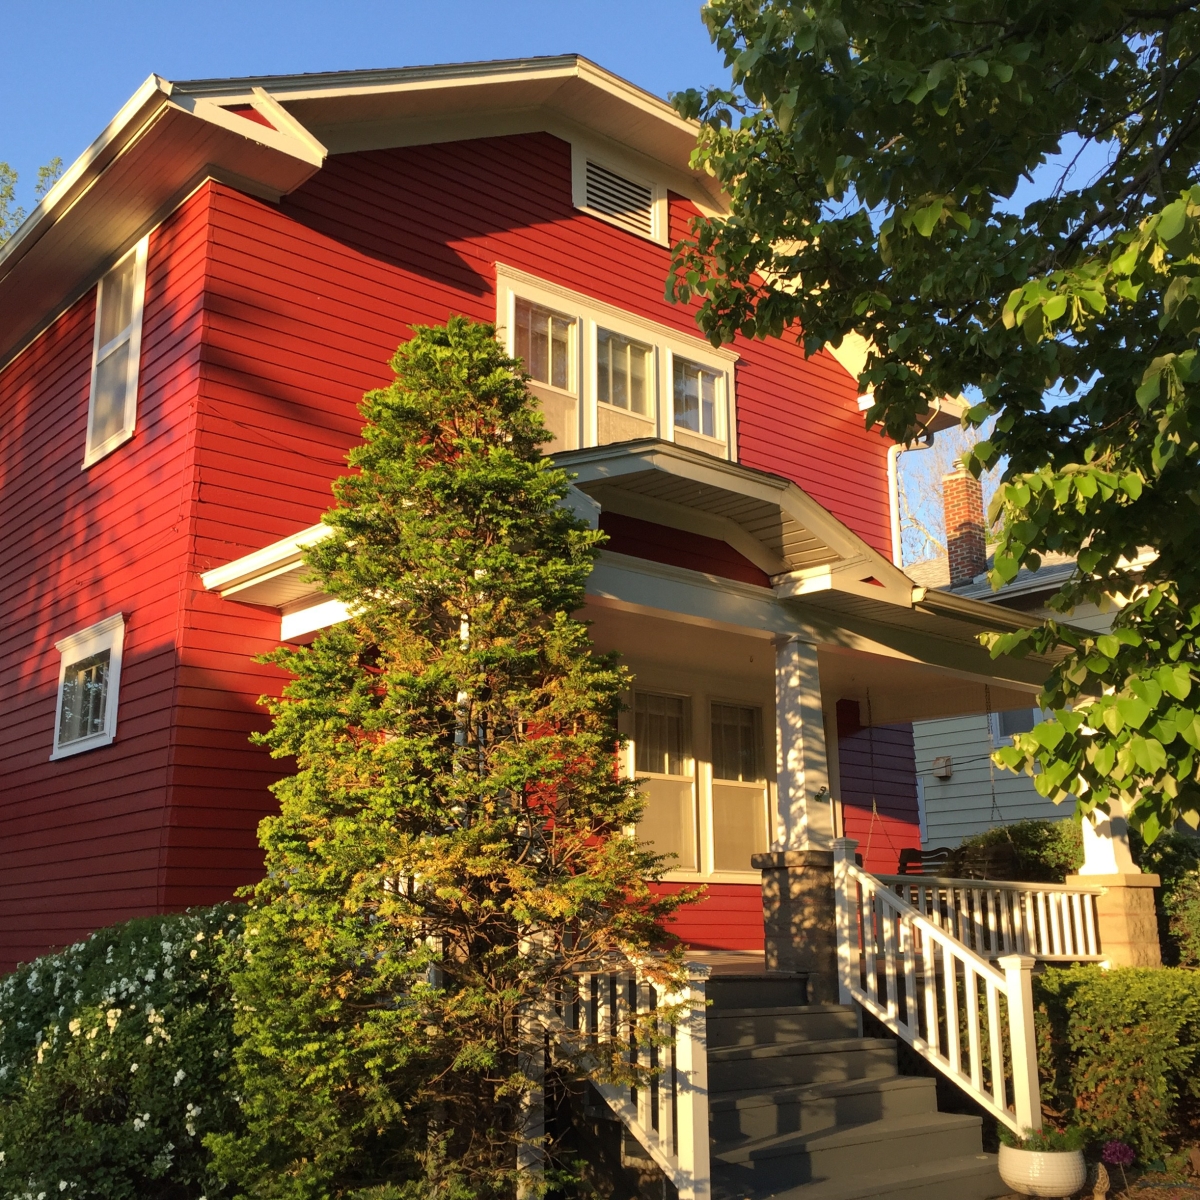
Welcome to our small, very brown ranch. To put it into perspective, our first home that we also fixed up was a turn of the century two story craftsman. Beautiful inside and out. It took a lot of elbow grease but we had that home singing and shining in all of it’s glory by the time we made the decision to move. Did we move because of the house? Absolutely, not. We made the move to close the massive gap of travel my husband was making. Eighty miles everyday on twisty, hilly, no shoulder roads does that… makes you need to not make that drive after 3.5 years. And our marriage and family is more important than that beautiful, old home.

IMG_7337
In front of our old home on our moving day.

Now instead of the 40 minute commute, my husband drives down the hill, past the football field to his classroom everyday. It’s definitely a major blessing from God to be able to see him more as our little family settles into our tiny, new to us dwelling.

The Splinter

To be honest, the move although easier on our family has not been easy for me. I am not a huge fan of homes built in the 1970s. They just aren’t built with quality materials and have little to no historical character. What else am I not fond of? The color brown. Don’t get me wrong brown has it’s place. It’s a neutral, after all. But when I say brown… everything. is. brown. in. this. house. Brown walls, brown floors, vents, outlets (who paints an outlet?), cabinets, counter tops…  You get my drift, right?

Brown everything. This includes the pallet wood backsplash in the kitchen.

Pallet. Wood. I totally get the trend of pallet wood and reclaimed wood. It can be so lovely if done correctly. And in the correct area of your home. A kitchen backsplash that contains porous, un-sanded, rough, pallet wood…NOT SO MUCH.

I totally get it. It was an inexpensive, DIY.  However, I believe there weren’t a lot of thoughts about the implications of the finished product. Maybe it’s the mama in me, I see food and grease stains, a MASSIVE fire hazard, splinters, incorrect installation of countertops (literally they aren’t even attached), and so much more. Don’t get me wrong. I am totally for working in your means, being under budget, and not using debt to fund a project. After all, this is what this site is about! But this site is also about doing your homework.

Hope to Come

The list of imperfections is long. But the list of beautiful finishes we will be able to do brings my heart hope. It gives my soul peace on this present earth, knowing that there are possibilities. And knowing that this isn’t necessarily our forever home. But we want to make it just that, HOME for now.

I hope you stick around this website. I will be updating our renovations, adding tutorials, DIY projects and hopefully teaming up with some awesome small businesses to offer YOU some great products and solutions for YOUR home, family, and life!

For more updates and inspiration, follow me on PINTEREST, FACEBOOK, and INSTAGRAM.


An Introduction

Now I get to start designing again. One thing I have always been relatively good at is transforming spaces on small budget.

Hello Friends,

Thanks for stopping by my new site, Midwest Southern. For those that don’t know me I would love to introduce myself. My name is Mandy. I am a full time stay at home mama, ETSY shop owner, and aspiring interior designer. My husband and I spent the last three years renovating a beautiful 1920s craftsman style home but, it was time to move! We welcomed a beautiful baby girl in 2016 and the 80 miles of driving everyday wasn’t cutting it for our family. So, we made the move to the farthest Northwest corner of Missouri.

872A1090
Mandy Herron, Owner. Creator. Writer.

Now I get to start designing again. One thing I have always been relatively good at is transforming spaces on a small budget. Even in college my friends would comment about my dorm feeling less like a dingy dorm and more like a home. Fast forward a little under 10 years and I still love design, making a space feel like home, and getting my hands dirty in a DIY project.

I hope to inspire you as you set out to make your space more beautiful. I plan to let you in on tutorials, DIYs, inspiration from other designers, and my favorite products. Follow me on Instagram for blog sneak peaks, special projects, and more!

Thanks for reading friends. Make today BEAUTIFUL.

xoxo,

Mandy


Family photos by: Cassie Shaw Photography–Northwest Missouri

Coming Soon!

Midwest + Southern

Thanks for stopping by! Our first post goes up Friday. Follow @midwestsouthernblog blog on Instagram for daily updates. You can also sign up below for up to date coverage of our little space online.